One of the most advanced features of WebsiteCrawler.org is its ability to take full page screenshots at user-specified resolutions while crawling. Why is this feature useful and how to use it? Here’s why you should be using this feature:
Identification of broken layouts: This feature enables users to see how pages appear at mobile, tablet or desktop resolutions. WebsiteCrawler.org displays thumbnail view of the screenshots. Thus, you can quickly identify broken layouts by just looking at the thumbnails.
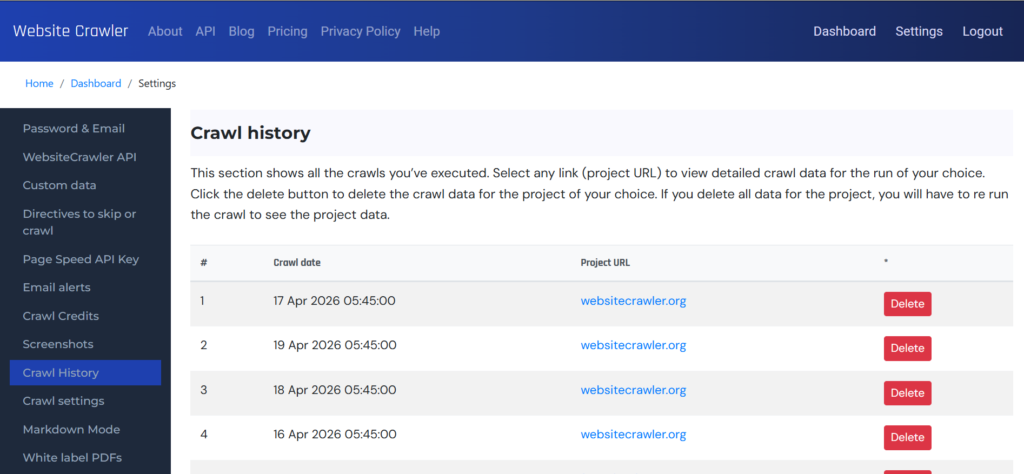
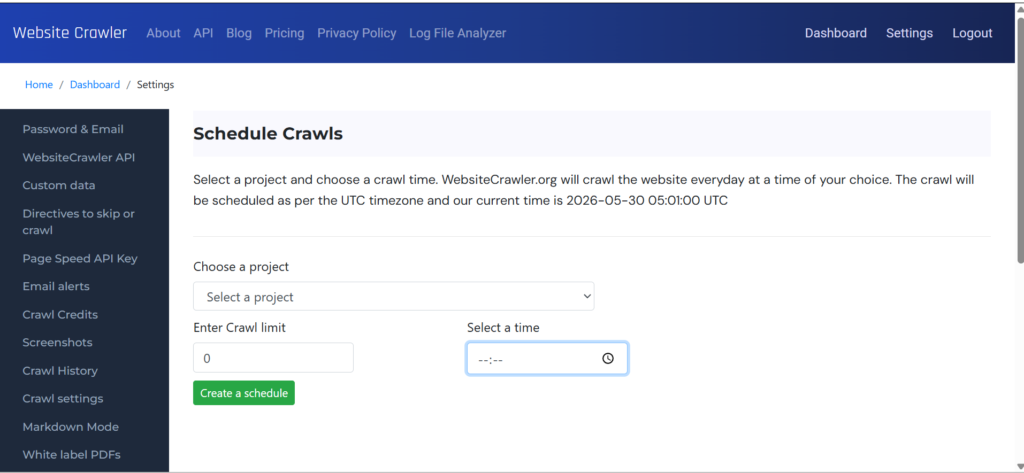
Comparing page appearance for two different dates: WebsiteCrawler.org’s crawl history feature lets you see the audit reports of previous dates. The data also includes screenshots. While crawling, our platform creates a timestamp directory and stores the screenshots in this folder. Thus, the future crawls will create new timestamp folders containing latest full-page screenshots.
Identification of rendering issues: If you’ve implemented a JavaScript function to show certain section at a specific resolution, you can quickly identify the issue with this in a few minutes or hours (depending on the URLs you’ve made WebsiteCrawler.org to crawl)
Client reporting: Once you know which page has a broken layout, you can quickly share its image with the client.
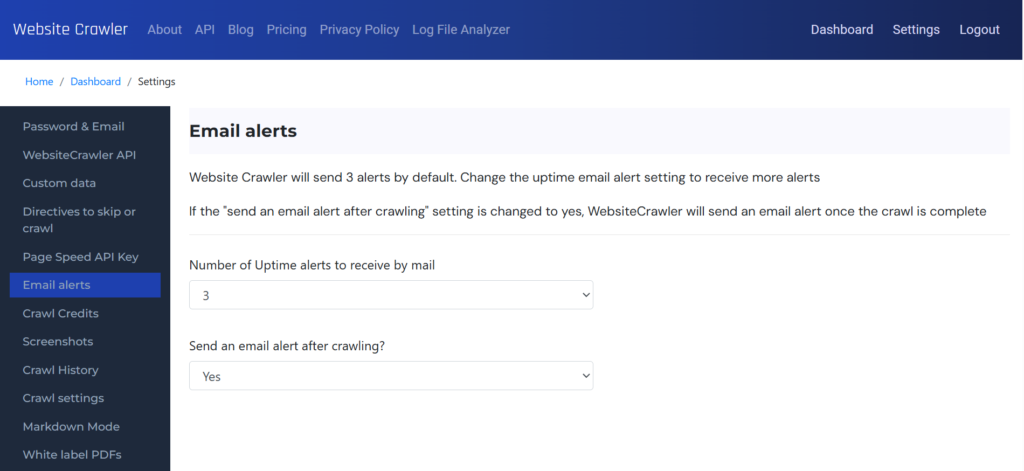
How to enable full-page screenshots for your website?

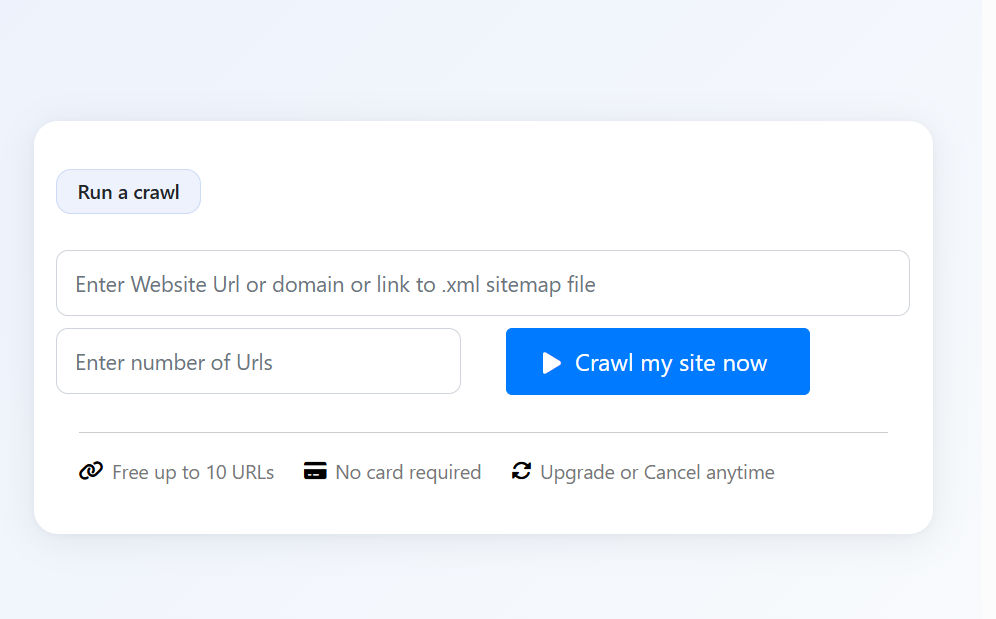
Free plan users who create an account after running a crawl will get access to the screenshots report which comprises only 5 screenshots (3 per page i.e. 1 for mobile, 1 for tablet, and 1 for desktop resolution) for each resolution. This is the demo of the screenshots feature of WebsiteCrawler.org
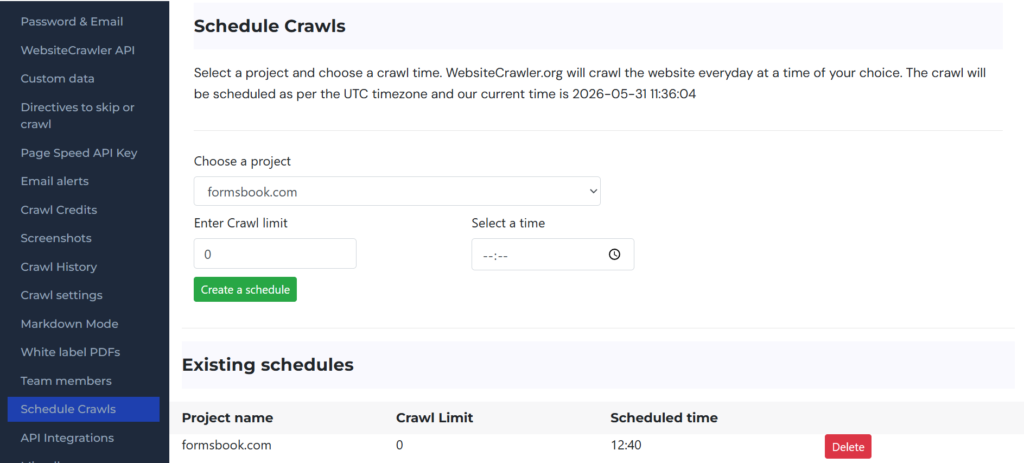
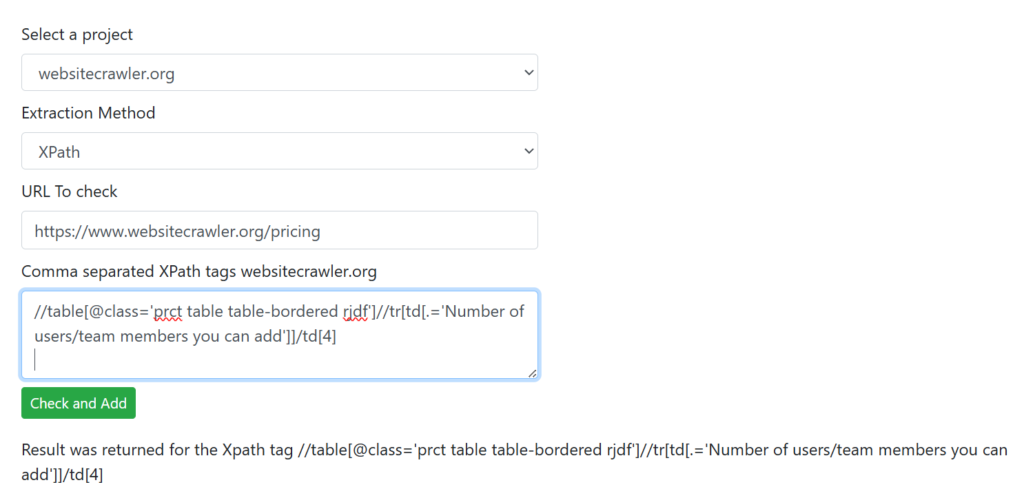
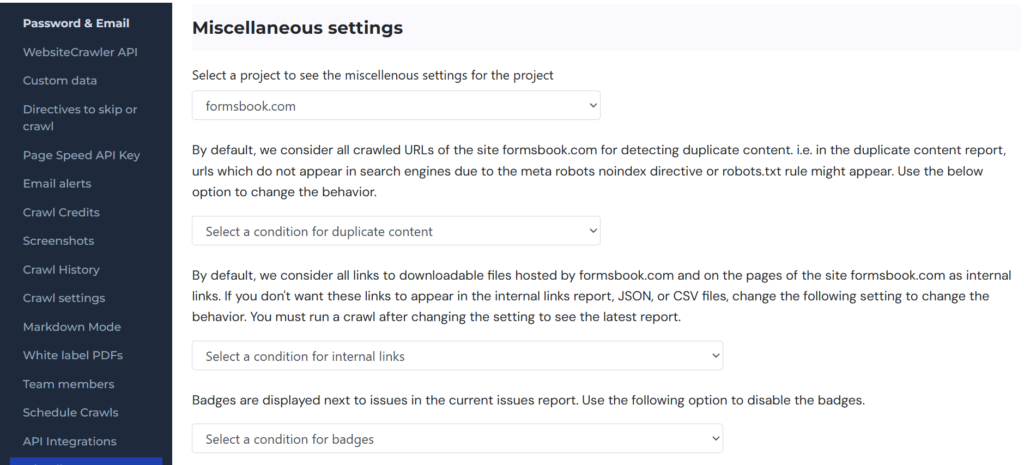
Users of the paid plans should navigate to the settings page and enable screenshots for the project of their choice. On the settings page, in the left sidebar, there’s a “Screenshots” menu. Click on this menu, select a project and then select the resolution of your choice for the mobile, tablet, and desktop resolutions. WebsiteCrawler.org supports these resolutions: 1280 x 800, 1366 x 768, 1440 x 900, 1920 x 1080, 2560 x 1440, 3840 x 2160, 320 x 480, 375 x 667, 414 x 896, 480 x 800, 600 x 1024, 768 x 1024, 1024 x 1366.
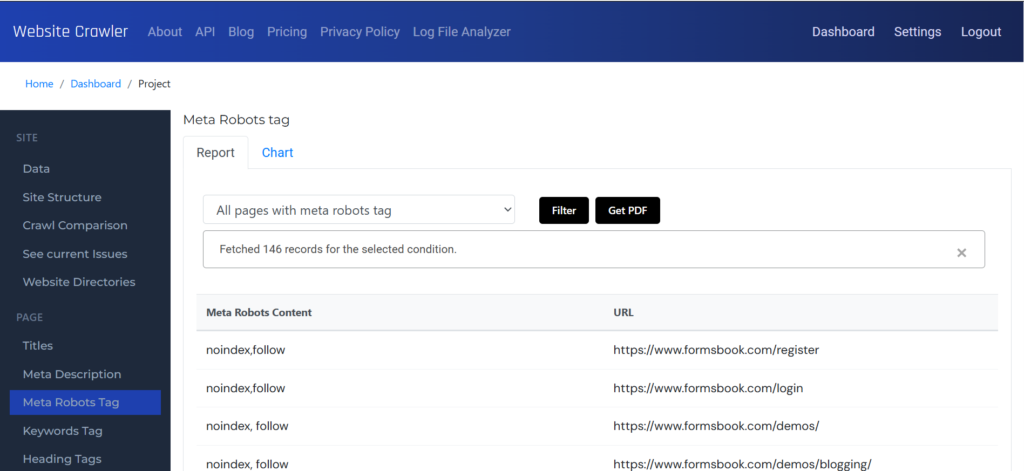
This is how the screenshot report looks.
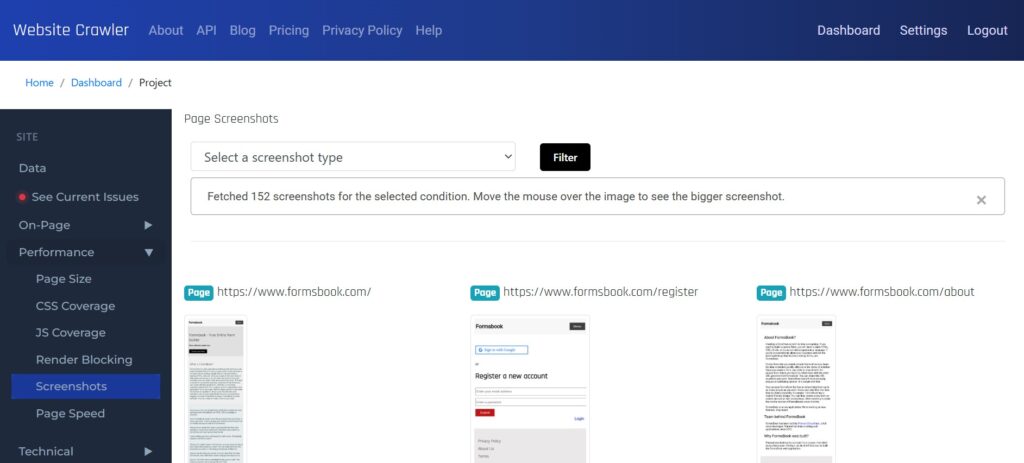
When you move the mouse over a thumbnail, WebsiteCrawler.org will open a lightbox in which you can see the image at full height and width.