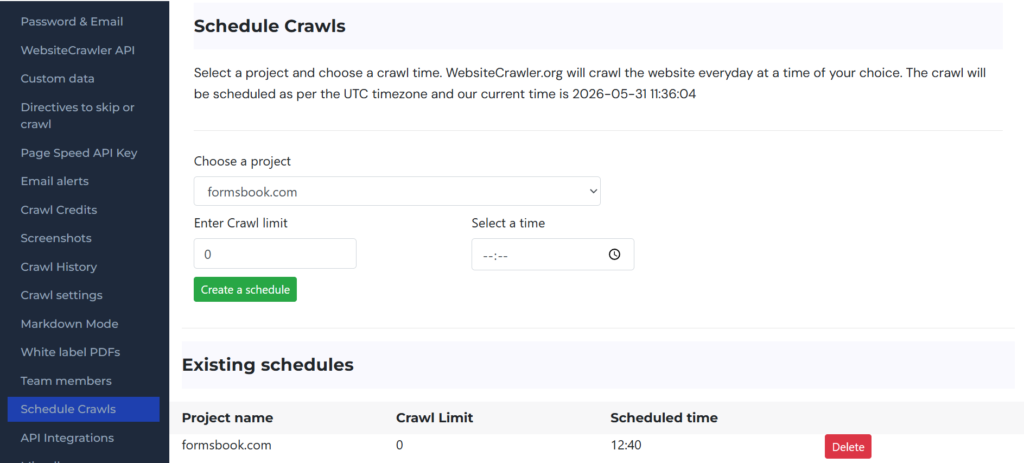
Scheduling a crawl with WebsiteCrawler.org is one of the easiest things to do. Visit the settings page and find the option “Schedule crawls” on the left sidebar. Select a project/domain name from the list and enter the crawl limit. Now select the time at which you want WebsiteCrawler.org to spider your site. Click on the green “Create a Schedule” button. Our platform will add your site to the scheduled tasks and will automatically crawl at the time you’ve set . You can create multiple schedules for the same project. For example, you can make our platform spider the same site multiple times a day.
Benefits of scheduling crawls:
Detect issues automatically: If you schedule a crawl, you don’t have to log in to your account and invoke the crawler manually. WebsiteCrawler will automatically spider your site at the time of your choice in the same way it does when crawl is run manually and will send an email once the job is done. It will do this every day until you remove the scheduled task. You can do this by clicking the “Delete button”. Before scheduling a task, you should run a sample crawl with a limit of 5 to 10 URLs to ensure that the site is crawlable.
The major benefit of this is issues are detected for fresh content/pages without manual intervention. You just have to log in to your account and see the current issues report. This report enables users to see previous issues or compare issues by date. If you have added a team member/members and assigned a project to him/her, you can thus easily find out whether the issues were fixed before a new crawl was completed or not.
We don’t support monthly/weekly crawls yet because we believe issues should be fixed as soon as they are discovered to prevent SEO adversities.
Leave a Reply