Tag: help

  • How to see the crawl history with WebsiteCrawler?

    WebsiteCrawler considers every crawl as different and to let users monitor audits and track data changes over time, it provides a feature called “Crawl History”. Why is this feature useful and was required? A new crawl can get you the latest data if the site’s content is updated frequently. If the content on the website doesn’t change much, the data would be identical. Hence, tracking changes in reports/data becomes easier.

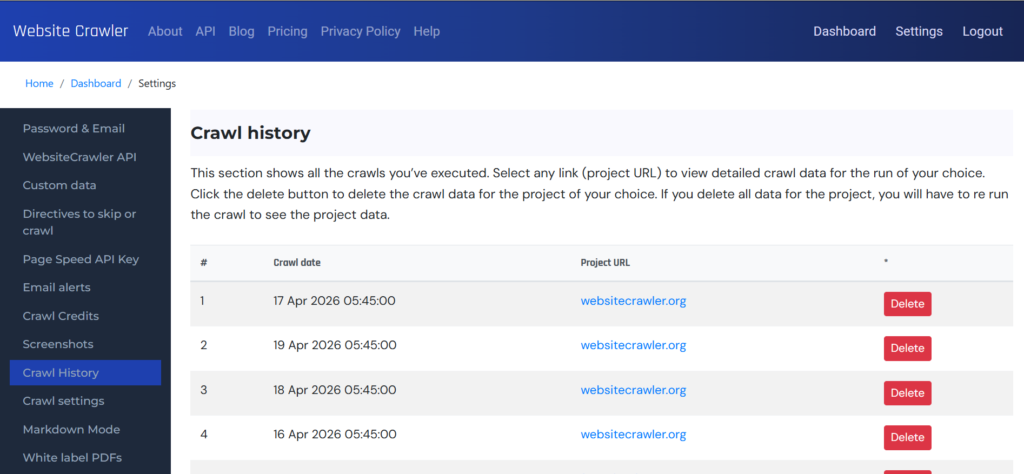
    How is this feature different from “Crawl compare”? The “Compare” report lets users see the content changes between two timestamps. The “History” feature displays every crawl of each project you’ve executed on WebsiteCrawler.org. It displays these columns – crawl date, project URL accompanied by a “Delete” button.

    If you click the project URL, WebsiteCrawler.org will open the reports for the date which is displayed next to the project. You can open multiple reports by clicking on the respective project URLs and see how the site’s reports have improved or deteriorated over the time. The data will be available for each report. You can download the same by clicking the “Data” report menu on the left sidebar, selecting the fields you want in the report and clicking the “Download CSV” or “Download JSON” button.

    There’s a delete button too on the “Crawl History” page. If you want to remove the site data for a particular date, simply click this button. If your website is huge, this process can take anywhere from a few seconds up to a minute to complete. Deleting old history that you no longer refer to keeps the database table clean. Whether to delete old records is entirely up to you.

  • How to schedule crawls with WebsiteCrawler?

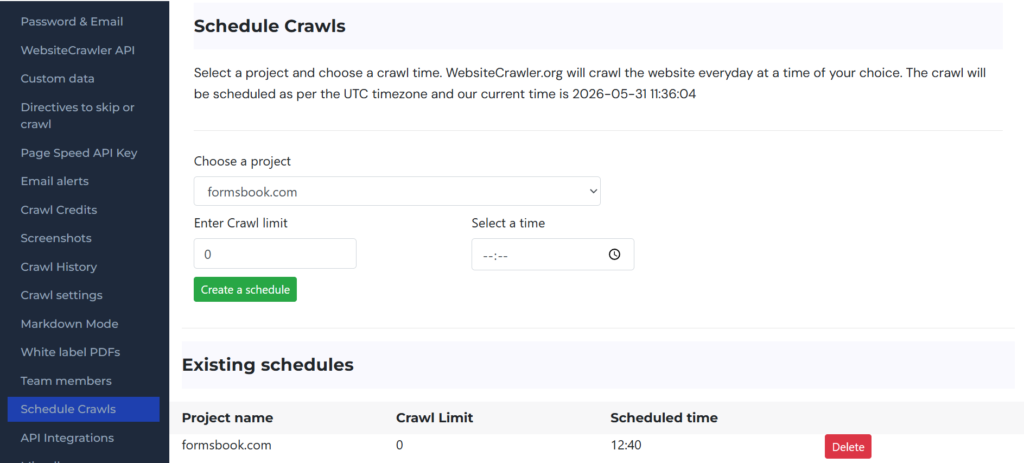
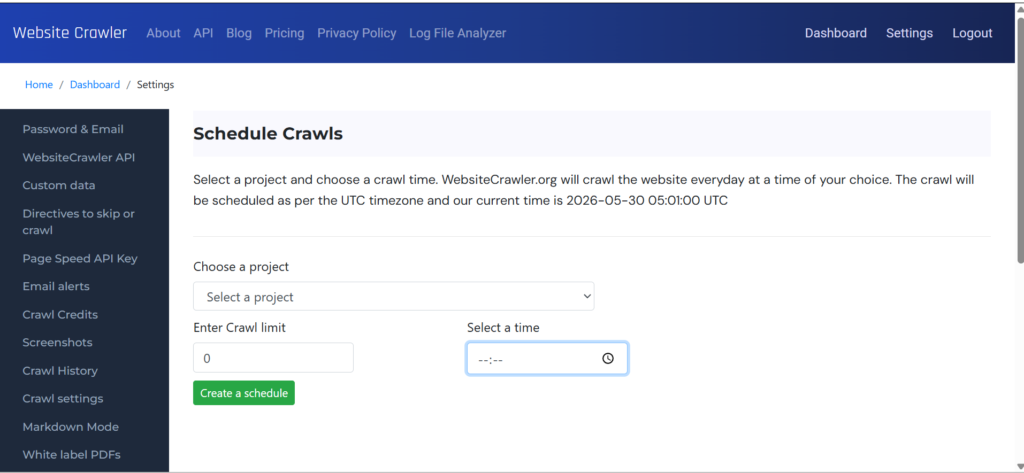
    Scheduling a crawl with WebsiteCrawler.org is one of the easiest things to do. Visit the settings page and find the option “Schedule crawls” on the left sidebar. Select a project/domain name from the list and enter the crawl limit. Now select the time at which you want WebsiteCrawler.org to spider your site. Click on the green “Create a Schedule” button. Our platform will add your site to the scheduled tasks and will automatically crawl at the time you’ve set . You can create multiple schedules for the same project. For example, you can make our platform spider the same site multiple times a day.

    schedule crawls

    Benefits of scheduling crawls:

    Detect issues automatically: If you schedule a crawl, you don’t have to log in to your account and invoke the crawler manually. WebsiteCrawler will automatically spider your site at the time of your choice in the same way it does when crawl is run manually and will send an email once the job is done. It will do this every day until you remove the scheduled task. You can do this by clicking the “Delete button”. Before scheduling a task, you should run a sample crawl with a limit of 5 to 10 URLs to ensure that the site is crawlable.

    The major benefit of this is issues are detected for fresh content/pages without manual intervention. You just have to log in to your account and see the current issues report. This report enables users to see previous issues or compare issues by date. If you have added a team member/members and assigned a project to him/her, you can thus easily find out whether the issues were fixed before a new crawl was completed or not.

    We don’t support monthly/weekly crawls yet because we believe issues should be fixed as soon as they are discovered to prevent SEO adversities.

  • How to create your first WebsiteCrawler project?

    For easy identification, projects in WebsiteCrawler have the same name as the domain you had entered for crawling. Projects cannot be renamed. but can be grouped.

    How to create a project? When you run a crawl and sign in to WebsiteCrawler after registering an account or signing in with Google, our platform will automatically create a new project for you. While your site is being crawled, you can register a new account by clicking on the “Get started” button on the menu bar and following the instructions displayed on the page. If you create an account during an active crawl task, WebsiteCrawler will create a project for you automatically and you can monitor the crawl progress from the dashboard. If you’ve logged in first and want to create a new project and run a crawl, this guide is for you.

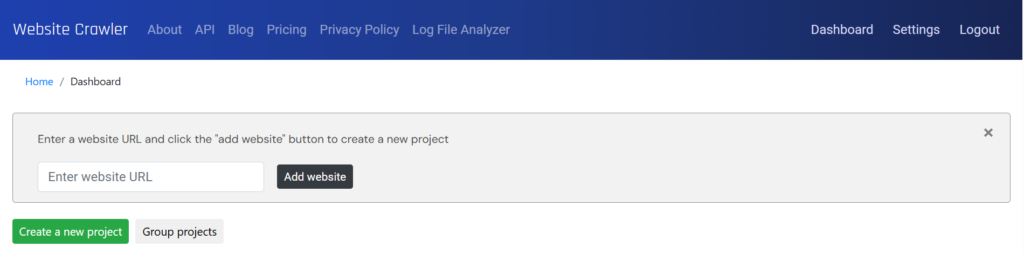
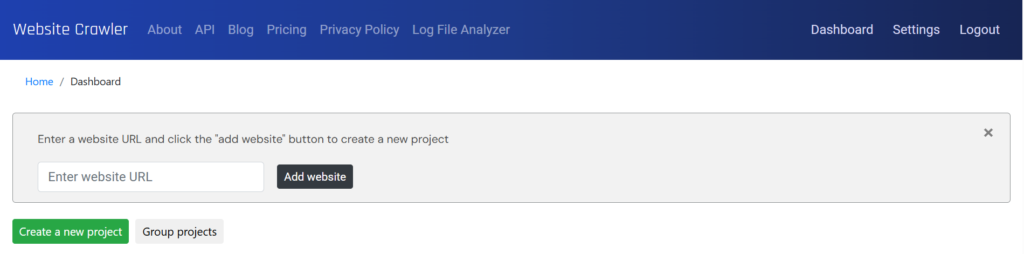
    Click the green “Create a new project” button displayed on the dashboard page. You’ll now see a form where you must enter the target website URL. Enter the URL and click the “Add website” button. WebsiteCrawler will add your new project to the list.

    new projects

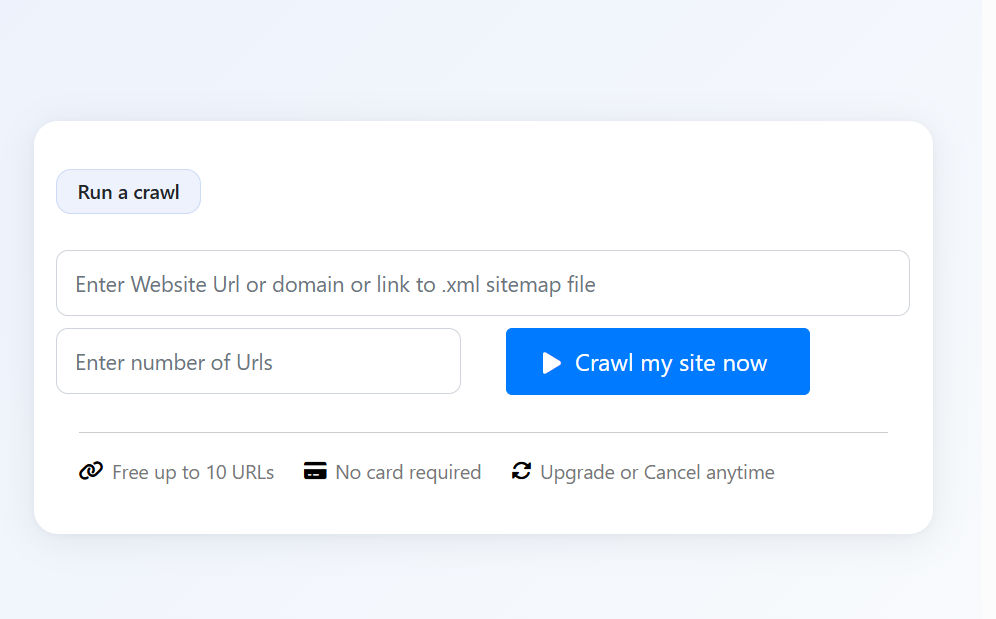
    To run a crawl, visit the homepage and enter the website URL you had entered in the above step. Now enter the crawl limit and click the “Crawl My Site Now” button. WebsiteCrawler will start crawling your site. You can close this page and visit the dashboard to monitor the crawl progress.

    WebsiteCrawler lets users delete a project. When you delete any project, the crawl credits won’t be affected in any way. For example if you made our platform crawl 1000 pages and you remove a project, the crawl credits will not be incremented by 1000.

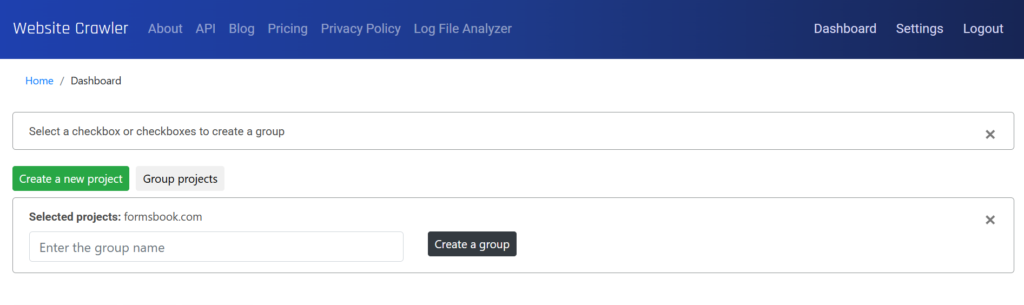
    group projects

    In our first paragraph, we had mentioned another feature of WebsiteCrawler.org i.e. Group Projects. Along with creating a project, you can group projects from the dashboard page. To do this, click the “Group Projects” button. WebsiteCrawler.org will now show checkboxes beside each project. Select the checkboxes of your choice and enter the name for the group in the new textbox WebsiteCrawler displays.

  • How to extract custom data using XPath or CSS selectors with WebsiteCrawler?

    WebsiteCrawler allows users to extract specific data from web pages using CSS style selectors and XPath selector. Both the approaches are powerful but XPath selector based extraction is more versatile.

    Extracting data using CSS selectors

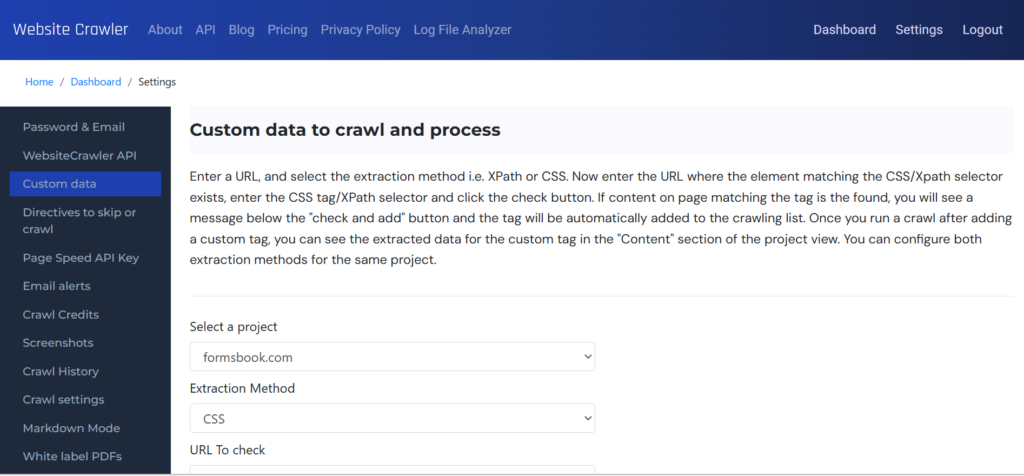
    custom data settings

    In the custom data settings section, you must first select a project. After selecting a project, choose the extraction method which can be CSS or XPath. Now enter the URL on the page which has the data you want WebsiteCrawler to extract and enter the comma separated CSS, XPath selectors in the textbox below it.

    Suppose you want to extract the text of hyperlink element (a href) wrapped inside the span HTML tag for the project formsbook.com. Here’s the approach you should follow.

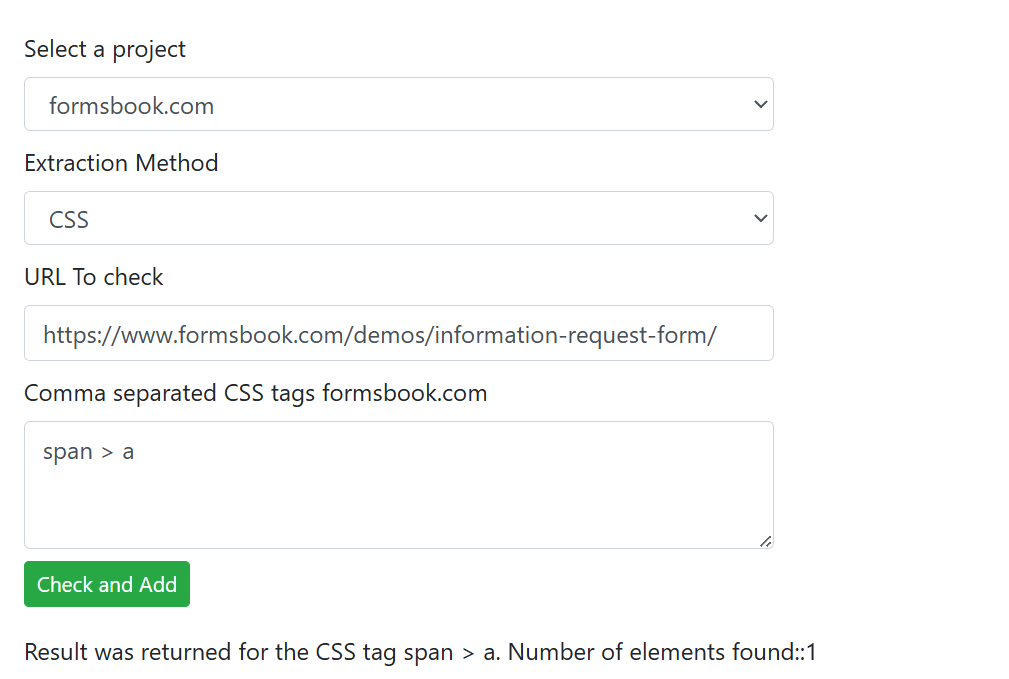
    data extraction

    Select project formsbook.com and select the extraction method “CSS”. In the URL to check field, enter the URL https://www.formsbook.com/demos/information-request-form/ and in the text box below below it, enter the css selector span > a where span > a selects direct child URLs inside the span HTML element. Now click the “Check and Add” button. If WebsiteCrawler detects matching elements, it will display the number of elements found on the page. This number can be 1 or more. Unless a match is found, the selector won’t be added to the crawling list. Once the selector is added to the crawling list, run a new crawl. The custom data (span > a) will be extracted and will be available in the “Custom data” report or the data section on reports page.

    The above screenshot is of our log file which depicts crawler working on the span > a custom data.

    custom data report

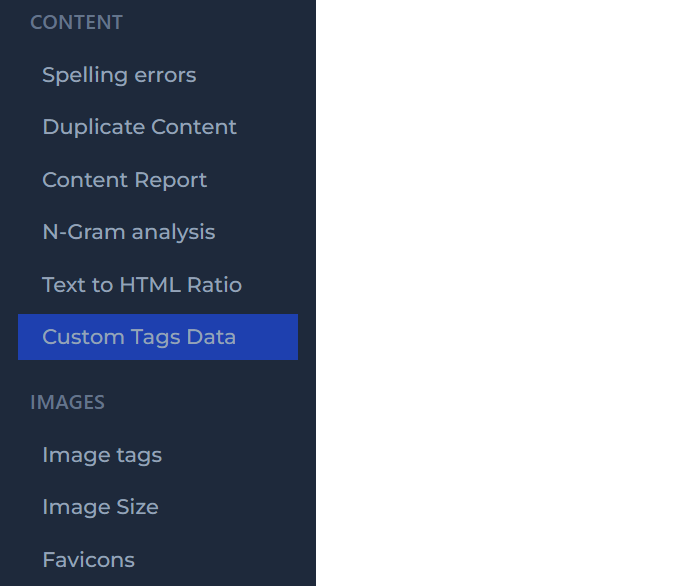
    The custom tags data report will be available under the content section of the reports section’s left sidebar only if custom data settings was configured and a crawl was run.

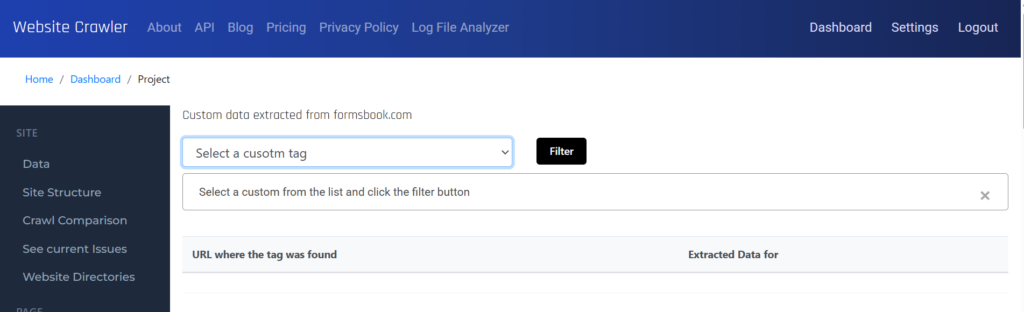
    custom data report tag selection

    This is the custom tags data report. Select a tag whose data you want to see.

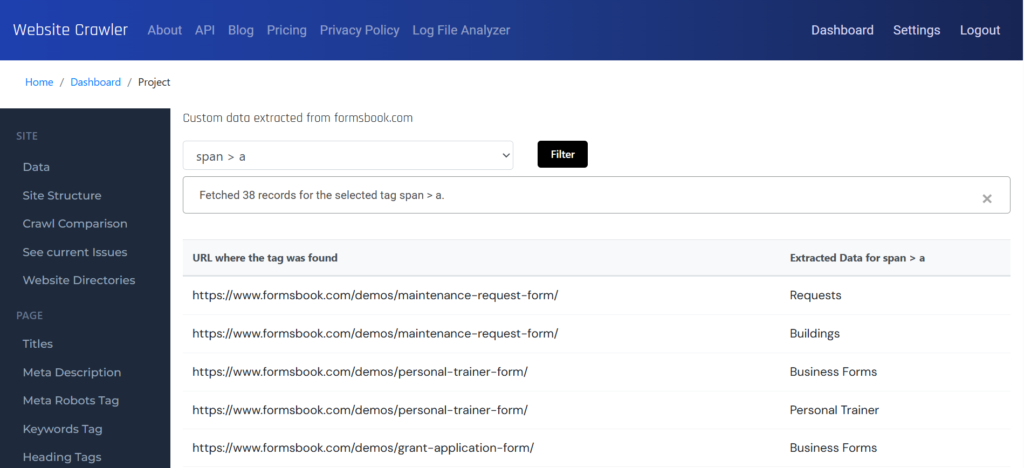
    final custom data report

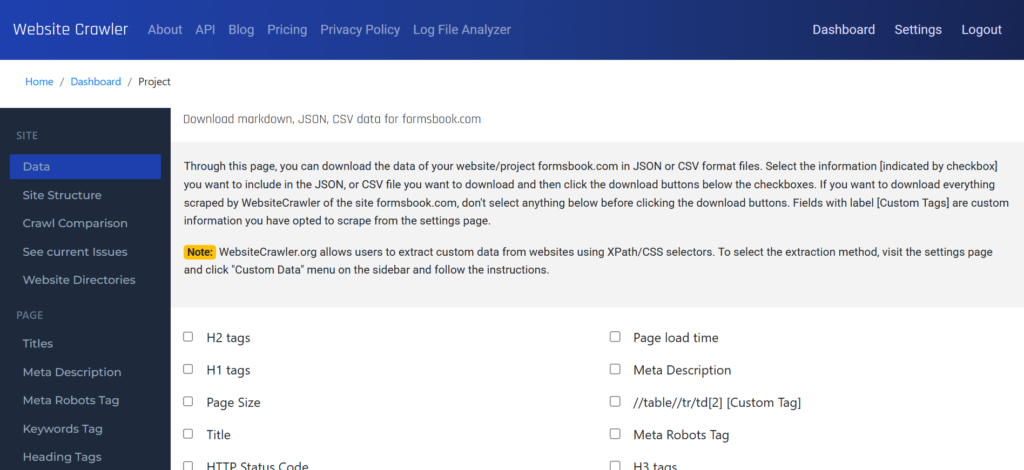
    This is the final report. You can download the data in the CSV, JSON format from the data section of the report.

    Extracting data using Xpath

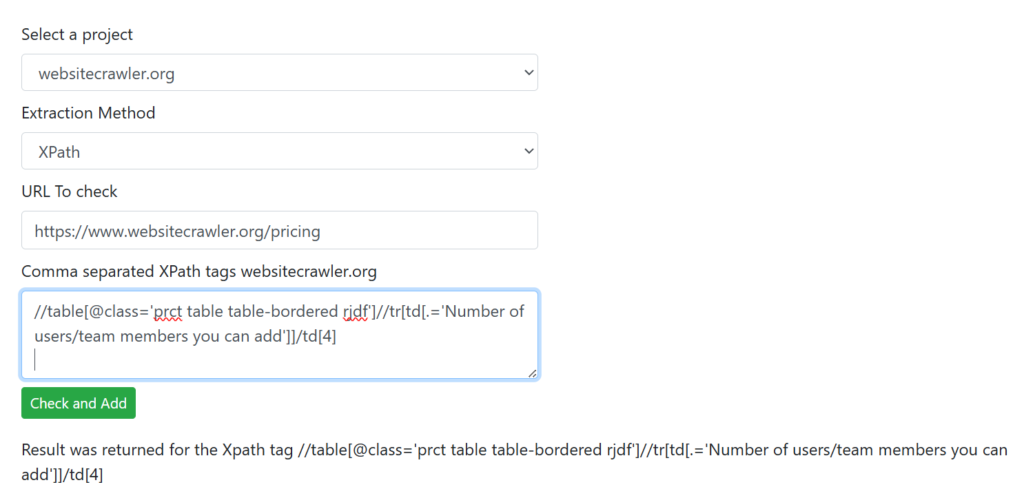
    Here’s another example for extracting custom data. This time we will use XPath extraction method. Suppose I want to extract the number of users that the Growth subscription plan of WebsiteCrawler.org supports. Here’s the XPath settings for the same:

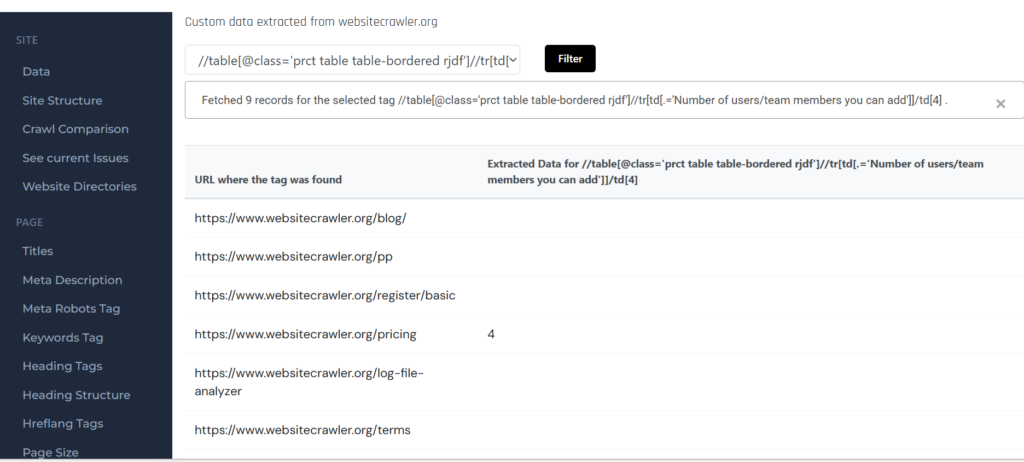
    In the above screenshot, you can see that the “Check and Add” button click resulted in a result. That Xpath selector was added to the crawling list. Now, after running a crawl, this report was generated.

    xpath data extraction report

    As only one page has the pricing table on WebsiteCrawler.org, only a single result is displayed in the custom tags data report and no data is reported for the other crawled pages.

    Note: A result should be returned for the XPath selector as well. Unless a matching result is displayed, the selector won’t be added to the crawling list. WebsiteCrawler verifies the selectors you enter. It uses Chrome browser to do so.

    Tip: In case you can’t write the XPath or CSS selector, use Google Gemini, Claude or ChatGPT. Ask these tools to generate a selector for the page and verify the same using our Custom Data feature.

  • How do I find duplicate content on entire website with WebsiteCrawler?

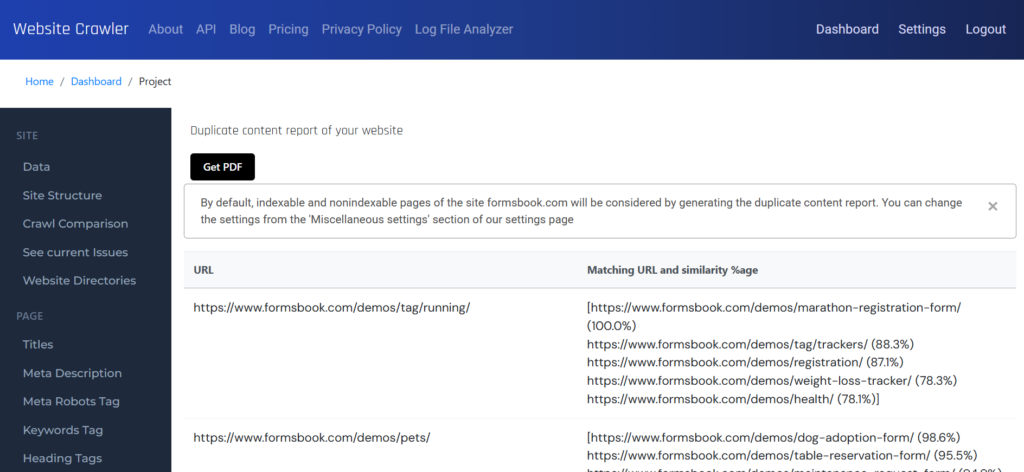
    Whether it’s near duplicate or exact copy of the content, WebsiteCrawler identifies the two across 1000s of pages in a few seconds. Our platform considers the repetition of phrases and words to identify it. By default, WebsiteCrawler considers non-stopwords to identify duplicate content. The platform does this to avoid false positives. What are stop words? WebsiteCrawler maintains a list of 100+ commonly used words. Such words will be ignored while generating the report.

    Website Crawler identifies up to 10 matching pages for each URL. It displays the URLs and the percentage similarity which can be up 100. The ideal score should be less than 70. If the page’s score for similarity is more than it, WebsiteCrawler.org flags it and considers the page as a duplicate.

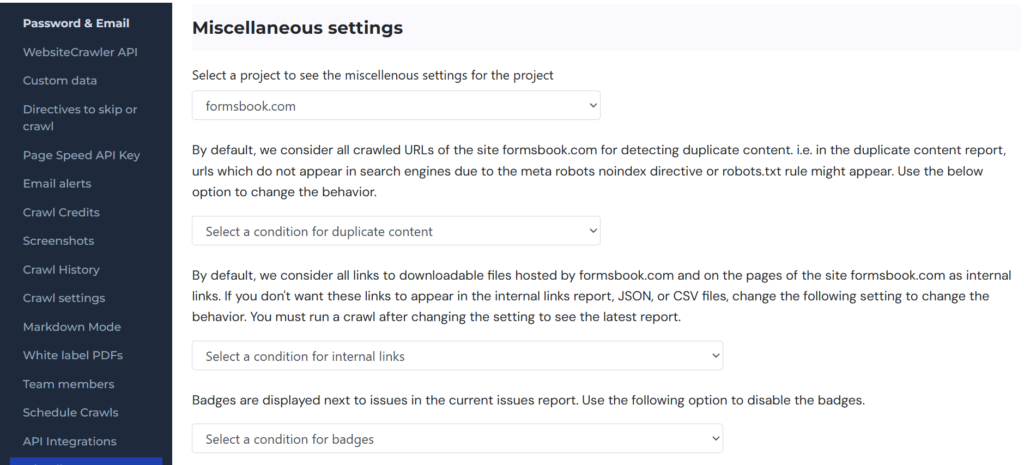
    WebsiteCrawler can be configured to consider only indexable URLs/pages (pages without meta robots noindex directive) while identifying the duplicate content on the site. If you don’t want our platform to consider URLs which will not be indexed by search engines, you can visit the settings page and click the “Miscellaneous” menu on the left sidebar. Now select the project from the drop down list. Find the setting “Select a condition for duplicate content” and select the “Consider indexable URLs” item from the list. Your miscellaneous setting for the selected project will be saved automatically. Now visit the duplicate content report to see the latest results.

    The duplicate content report is generated once a day because the backend does heavy work in the background while generating this report. Furthermore, if a site is big, it is impossible to fix the content issues in a day on 100s of pages. If you have fixed the content, run a crawl and open the report again to see the latest changes on the next day.

  • Getting started with WebsiteCrawler

    WebsiteCrawler is a multipurpose platform which lets you monitor, audit, crawl a site and extract data for LLM training. It doesn’t require installation or special setup unless you want to do something extraordinary such as extracting custom data.

    How to run a crawl?

    Our crawler can be invoked from the homepage (visit websitecrawler.org) or via schedule feature. If you schedule a crawl, crawling will start at the time you specify. Homepage-based crawls can be started anytime not at a specific time. You have to submit a URL and limit to initiate it. Limit is the number of links you want WebsiteCrawler to process.

    The URL can be a simple link to your site’s homepage or to the sitemap file. Once WebsiteCrawler starts spidering a site, you’ll see a list of urls that have been processed on the homepage if the crawler was invoked from the homepage. In case of scheduled task, you can see the status in dashboard by clicking the “status” button.

    Types of URLs you can submit to WebsiteCrawler

    From the homepage, you can submit the link to the target website or its sitemap.xml file. In the 2nd case, each URL in the sitemap will be extracted and will be added to list of urls to be processed.

    What is crawling activity?

    When you submit a URL, WebsiteCrawler will extract the links on the page and its content. It will then process these URLs and their content. This process continues for each page until no link is found.

    What are projects?

    Projects separate data of websites. For example, if you’ve created 3 projects, each site in the project will have their own audit, extracted, or monitoring data. You can create a new project by clicking the green colored “create a project” button.

    What are reports?

    The reports section gives you access to the extracted data, and audit reports which comprises of plain data and charts. Reports can be downloaded as PDF files with WebsiteCrawler’s branding or custom branding. Our platform gives you access to 35+ audit reports. Each report is accompanied by filters.

    What is the settings page?

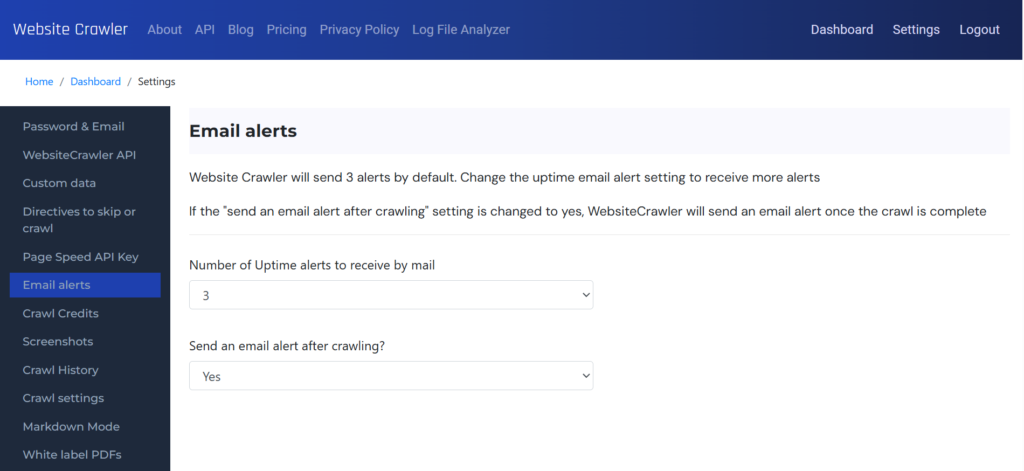
    This page allows users to see the past crawl history, schedule crawls, manage users, manage PDF report branding, select crawler type (HTML or Chrome), configure email alerts, set crawl delays, manage Google Search console integration, etc. It enables you to change password and email address as well. It has custom data section that lets you configure the CSS/XPath rules for a site.